The Ultimate Guide to Fence Installation: Enhancing Your Property with Style and Security

Your home is your sanctuary, and ensuring its privacy, security, and aesthetic appeal is of utmost importance. When it comes to defining your property boundaries and adding a touch of charm, a well-designed fence can make all the difference. However, installing a fence involves more than just hammering posts into the ground. From planning to execution, there are several key considerations to keep in mind to ensure a successful and satisfying fence installation bellevue. Let’s dive into the world of fence installation and explore the steps to transform your property.
1. Determine Your Purpose and Requirements:
Before embarking on your fence installation bellevue journey, identify the purpose and specific requirements for your fence. Are you looking to enhance privacy, establish a boundary, or enhance the overall aesthetic appeal? Consider factors such as height, materials, style, and any local regulations or homeowners association guidelines that may impact your choices.
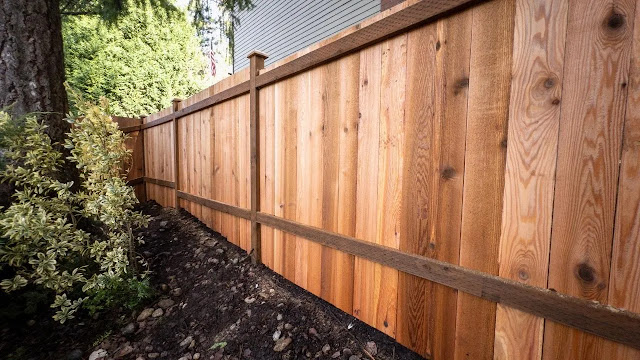
2. Choose the Right Materials:
The choice of materials is a crucial aspect of fence installation bellevue. Wood, vinyl, metal, and composite are popular options, each offering unique benefits in terms of durability, maintenance, and aesthetics. Take into account factors such as climate, maintenance requirements, and longevity to select the material that best suits your needs and preferences.
3. Plan and Design:
Careful planning and design are essential to ensure a well-constructed and visually pleasing fence. Consider the layout of your property, slope, and any obstacles such as trees or utility lines that may affect the fence placement. Sketch out the design, mark the fence line, and determine the spacing and placement of posts and gates.
4. Prepare the Site:
Preparing the site is crucial for a smooth fence installation bellevue process. Clear any debris, rocks, or vegetation along the fence line. Measure and mark the exact locations for post holes, ensuring they are evenly spaced and aligned.
5. Digging and Setting the Posts:
Digging and setting the posts is a critical step that determines the stability and longevity of your fence. Dig post holes to the required depth, typically one-third of the overall height of the fence, and ensure they are wide enough to accommodate concrete for stability. Carefully set the posts, ensuring they are plumb and aligned, and fill the holes with concrete for a secure foundation.
6. Install the Fence Panels or Boards:
Once the posts are set, it’s time to install the fence panels or boards. Follow the manufacturer’s instructions and guidelines to ensure proper spacing and alignment. Secure the panels or boards to the posts using appropriate fasteners, ensuring they are level and straight.
7. Add Finishing Touches:
To complete your fence installation bellevue, add finishing touches that enhance its functionality and aesthetics. Install gates, latches, and hinges as needed. Consider adding decorative elements such as post caps or finials to give your fence a personalized touch.
8. Maintain and Protect:
Proper maintenance and protection are essential for the longevity of your fence. Regularly inspect the fence for any damage, loose components, or signs of wear. Clean the fence as needed and apply protective coatings or treatments, depending on the material, to safeguard it against the elements.
Conclusion:
Fence installation is a transformative process that adds style, security, and functionality to your property. By following these key steps and considering your specific requirements, you can embark on a successful fence installation bellevue journey. Whether you seek privacy, a boundary, or an aesthetic upgrade, a well-designed and properly installed fence will enhance your property’s value and appeal for years to come. Embrace the opportunity to create a personalized outdoor space that reflects your unique style and enjoy the benefits of a well-crafted fence installation.


Comments
Post a Comment