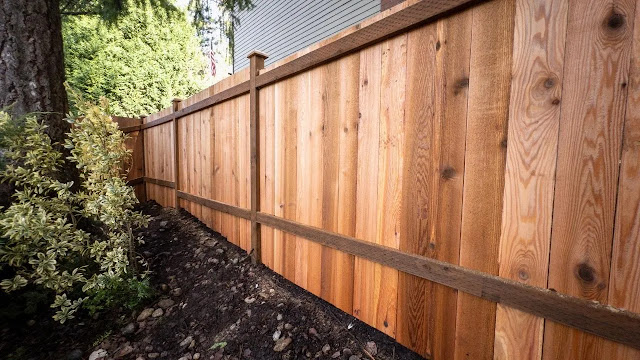
Vinyl Fencing Installation: Tips & Tricks
Vinyl fencing has become a popular choice for homeowners due to its durability, low maintenance, and aesthetic appeal. Whether you're looking to enhance your property's privacy, security, or curb appeal, installing a vinyl fence can be a great investment. However, proper installation is crucial to ensure the longevity and functionality of your fence. In this article, we will provide you with valuable tips and tricks for a successful vinyl fencing installation.
1. Plan and Prepare:
Before starting the installation process, it's important to plan and prepare accordingly. Begin by measuring the area where you want to install the fence. This will help you determine the amount of vinyl fencing material you'll need. Consider the purpose of the fence, whether it's for privacy, security, or decoration, and choose the appropriate height and style accordingly.
2. Check Local Regulations:
Before proceeding with the installation, check your local regulations and obtain any necessary permits or approvals. Some areas may have specific guidelines regarding fence height, setback requirements, or design restrictions. Adhering to these regulations will help you avoid any potential issues or fines in the future.
3. Gather the Right Tools and Materials:
To ensure a smooth installation process, gather all the necessary tools and materials beforehand. This may include a measuring tape, level, post hole digger, concrete mix, screws or brackets, and a saw for cutting the vinyl panels to size. Having everything readily available will save you time and prevent any unnecessary delays during the installation.
4. Prepare the Ground:
Before installing the vinyl fence posts, it's important to prepare the ground properly. Clear the area of any debris, rocks, or vegetation that may interfere with the installation process. Ensure that the ground is level and compacted to provide a stable foundation for the fence posts.
5. Install the Fence Posts:
Start by installing the fence posts at the designated intervals. Dig holes using a post-hole digger, ensuring that they are deep enough to provide adequate support for the fence. The depth will depend on the height of the fence and the local soil conditions. Place the posts in the holes and fill them with concrete mix, following the manufacturer's instructions. Use a level to ensure that the posts are plumb and straight before the concrete sets.
6. Attach the Rails and Panels:
Once the fence posts are set and the concrete has cured, it's time to attach the rails and panels. Start by attaching the bottom rail to the fence posts using screws or brackets. Ensure that the rail is level and secure. Then, slide the vinyl panels into the slots on the rails, making sure they are evenly spaced and aligned. Secure the panels to the rails using screws or brackets, following the manufacturer's instructions.
7. Secure the Gate:
If your vinyl fence includes a gate, it's important to pay special attention to its installation. Follow the manufacturer's instructions carefully to ensure proper alignment and functionality. Use sturdy hinges and latches to secure the gate, ensuring that it opens and closes smoothly. Double-check the gate's alignment and adjust if necessary.
8. Maintain Proper Spacing:
When installing vinyl fence panels, it's important to maintain proper spacing between them. This allows for the expansion and contraction of the material due to temperature changes. Follow the manufacturer's guidelines for the recommended spacing to prevent any warping or buckling of the panels over time.low-maintenance
9. Regular Cleaning and Maintenance:
One of the advantages of vinyl fencing is its low maintenance nature. However, regular cleaning and maintenance are still necessary to keep your fence looking its best. Clean the fence periodically using mild soap and water to remove dirt, grime, and any stains. Avoid using harsh chemicals or abrasive cleaners that may damage the vinyl surface. Inspect the fence regularly for any signs of damage or loose components and make repairs as needed.
10. Seek Professional Help if Needed:
While vinyl fencing installation can be a DIY project, it may be best to seek professional help if you're unsure about any aspect of the process. A professional fence contractor will have the expertise and experience to ensure a proper and efficient installation. They can also provide valuable advice on maintenance and answer any questions you may have.
In conclusion, vinyl fencing installation requires careful planning, preparation, and attention to detail. By following these tips and tricks, you can ensure a successful and long-lasting installation. Remember to check local regulations, gather the right tools and materials, prepare the ground properly, and maintain the fence regularly. With a well-installed vinyl fence, you can enjoy the benefits of privacy, security, and aesthetic appeal for years to come.


Comments
Post a Comment